Overview
Organizers can choose to import reviewers individually or via bulk import using a spreadsheet, importing reviewers from Abstract Manager (AM). Here’s how the bulk reviewer capability works in Proceedings Manager.
1. Bulk Upload of Reviewers
When selecting Invite Reviewers, the organizer will see an option to select either a Bulk Reviewer Invite or an Manual Reviewer Invite.
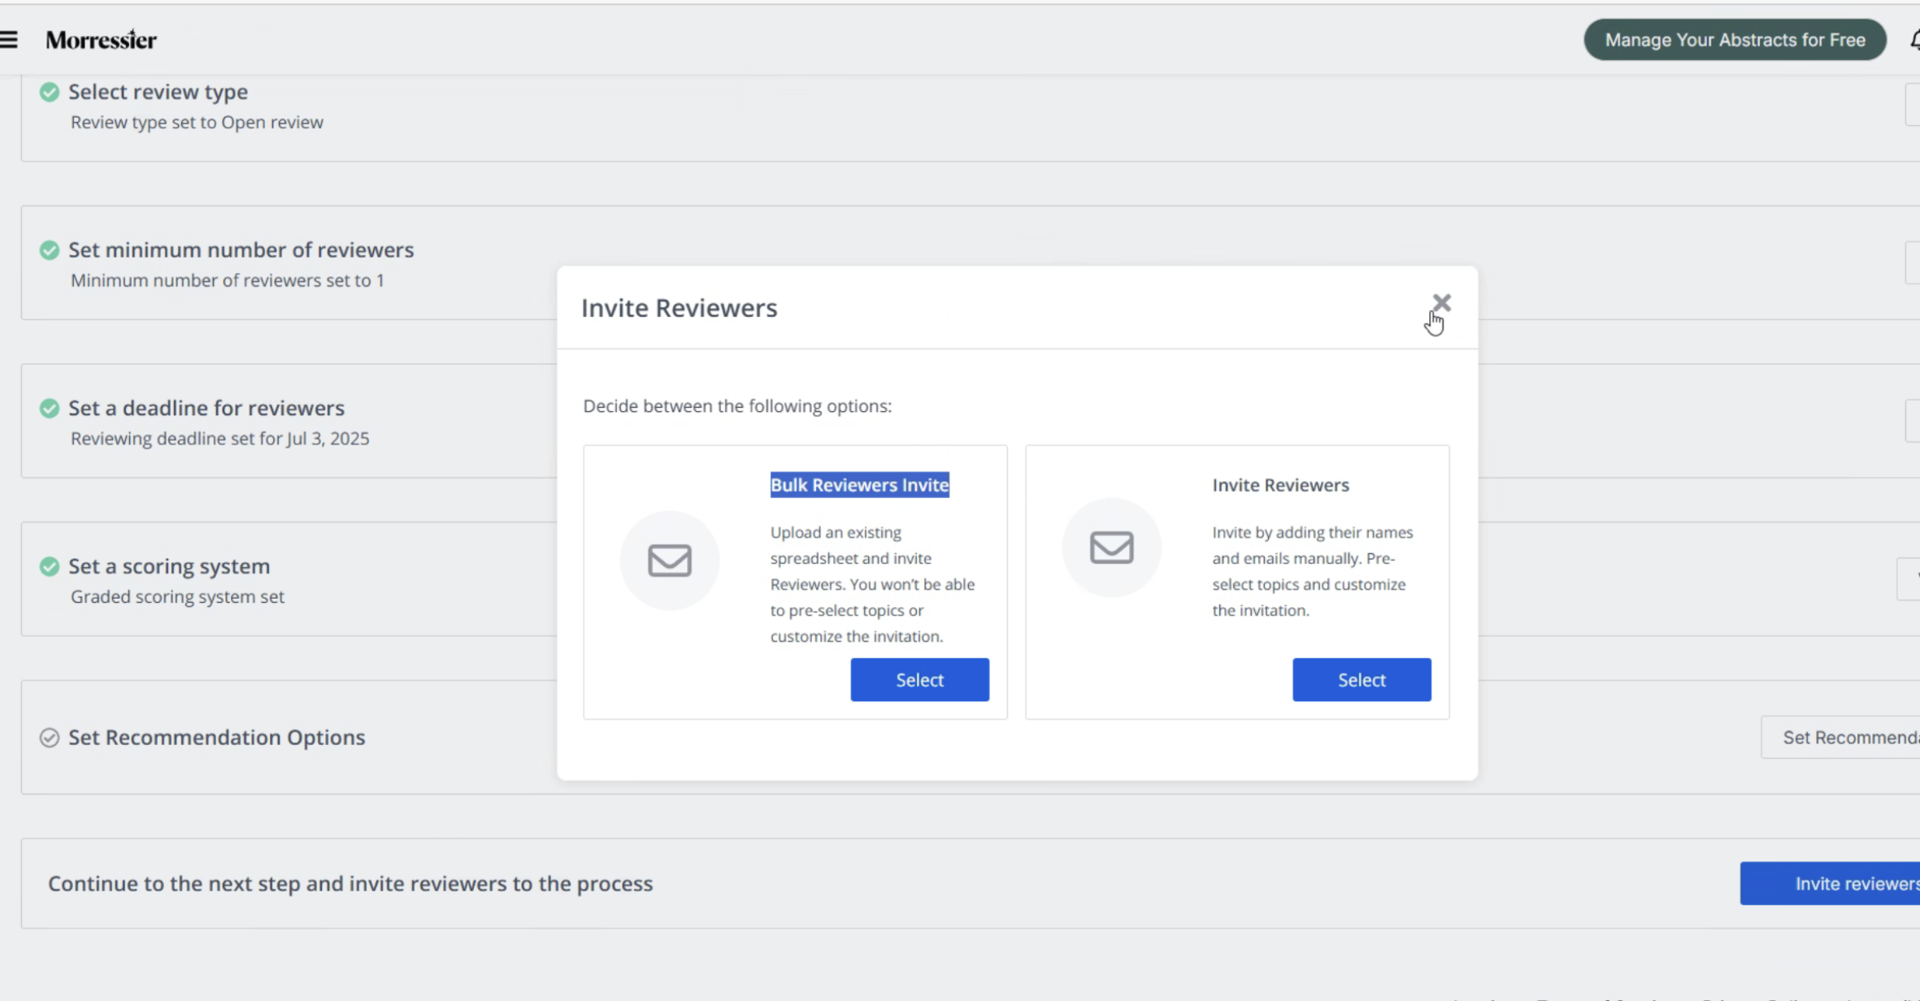
As an organizer, when you select Bulk Reviewer Invite, you’ll next be prompted to download a template to gather the name and information about the reviewer.
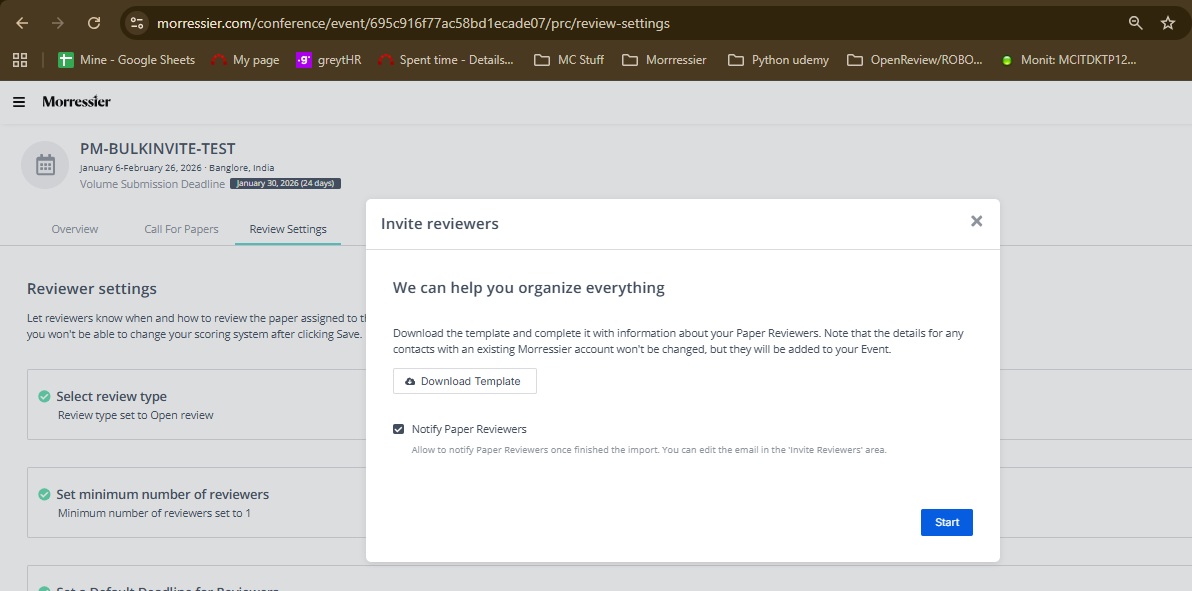
When ready, choose Download Template as shown below. You’ll see confirmation that your device has successfully downloaded the template file.

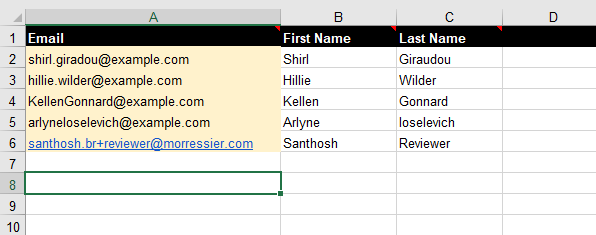
In the spreadsheet, add an email address, first name, and last name for each reviewer.
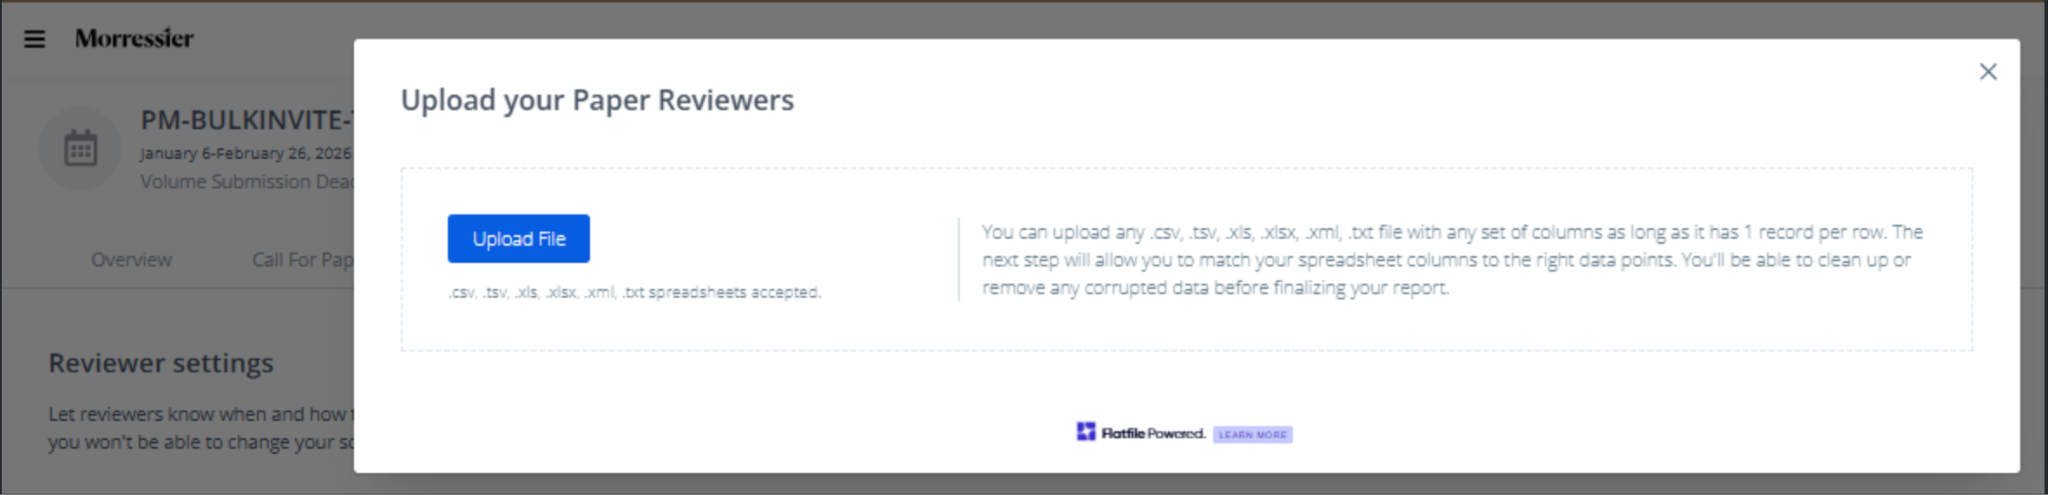
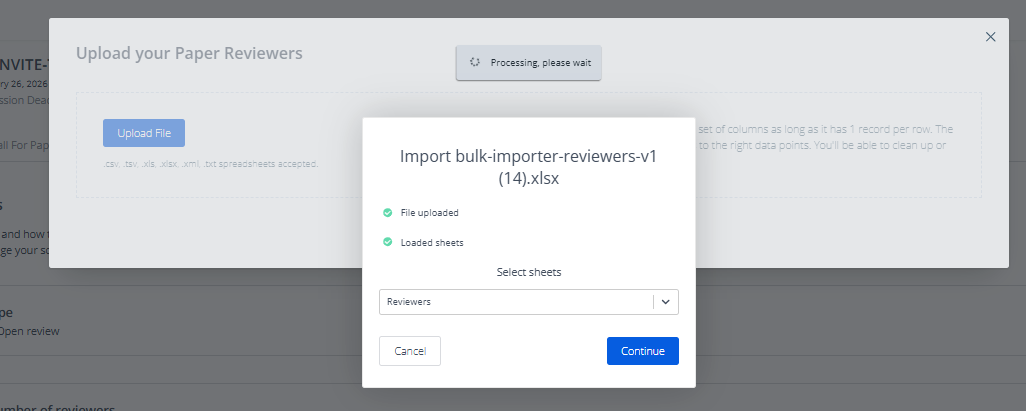
Back in Proceedings Manager, you’ll see a prompt to upload your file. Organizers can upload reviewer information using a .csv or .xls(x) file.
You’ll receive confirmation when the files have uploaded successfully. Click Continue.
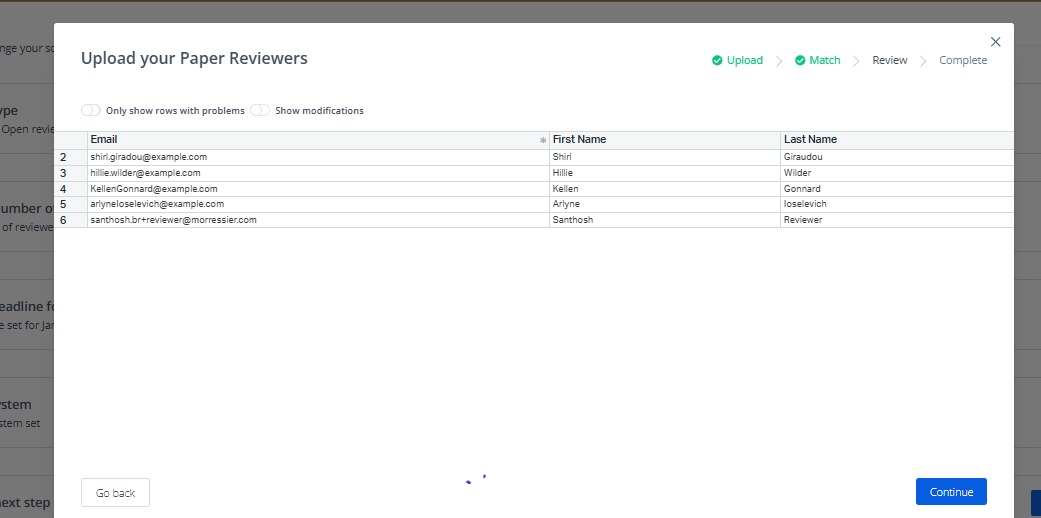
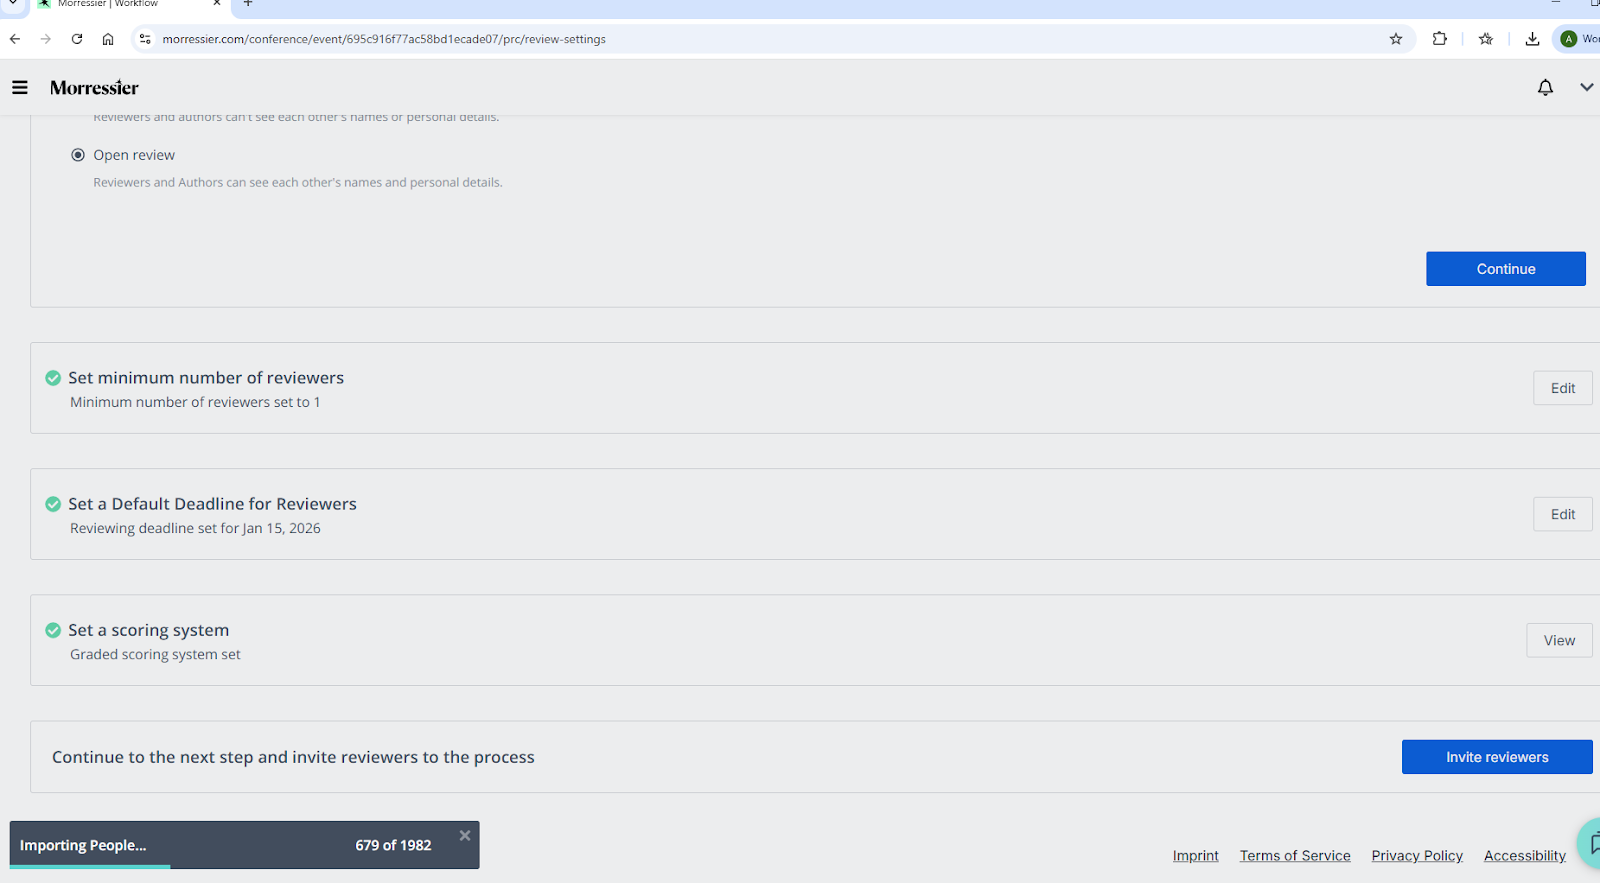
Proceedings Manager will allow you to confirm your reviewer set in the UI. This is a great place to look for duplicates or any problems in formatting. Before invitations are sent, organizers can:
- View a summary of all reviewers included in the upload
- Identify reviewers who are already part of the event as they are flagged automatically
- Remove or exclude any reviewer before completing the import
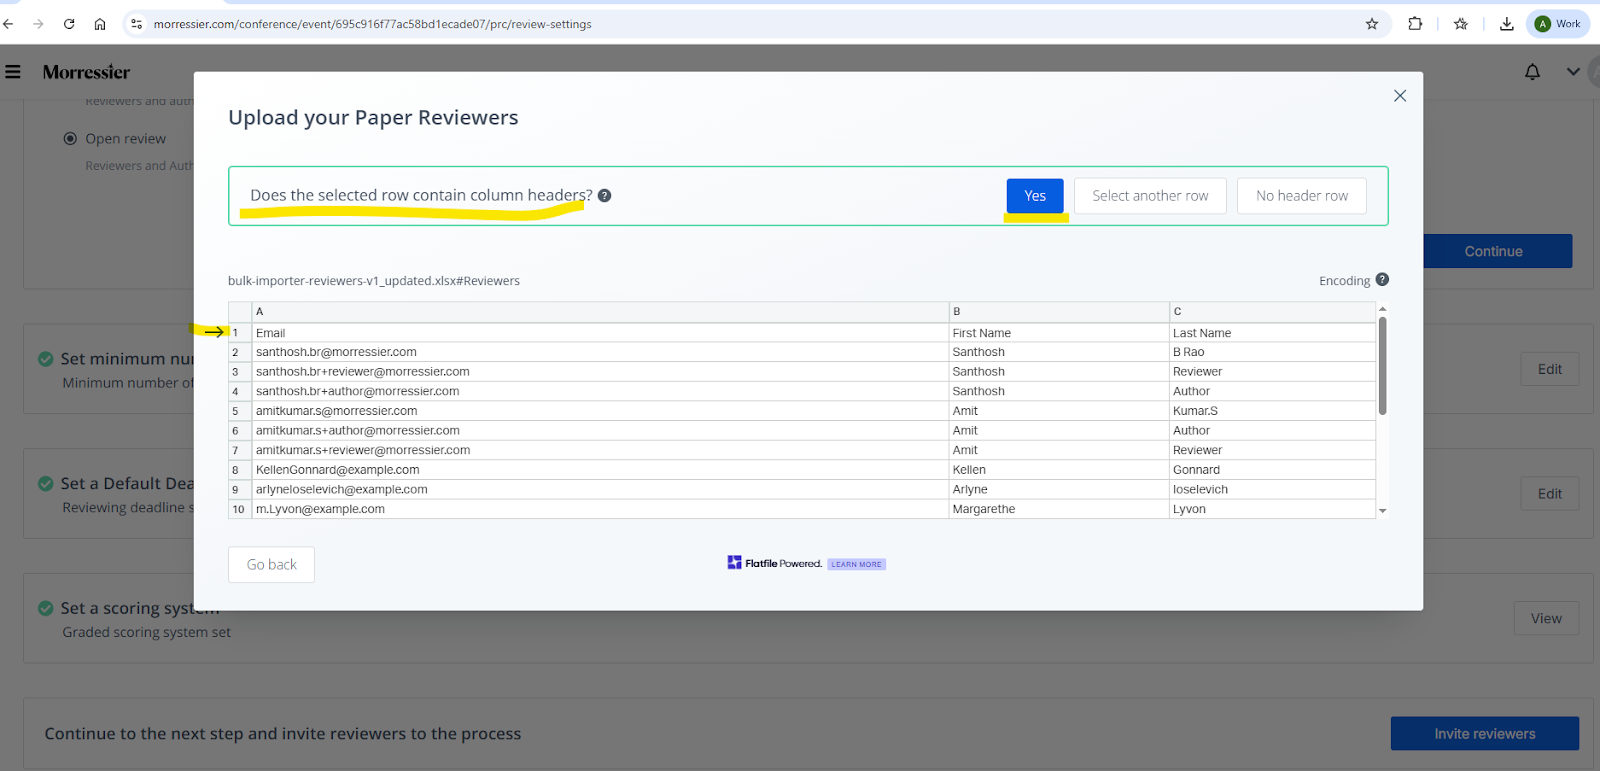
- If the selected row contains column headers? If so select “Yes”
Once everything looks correct, click Continue.
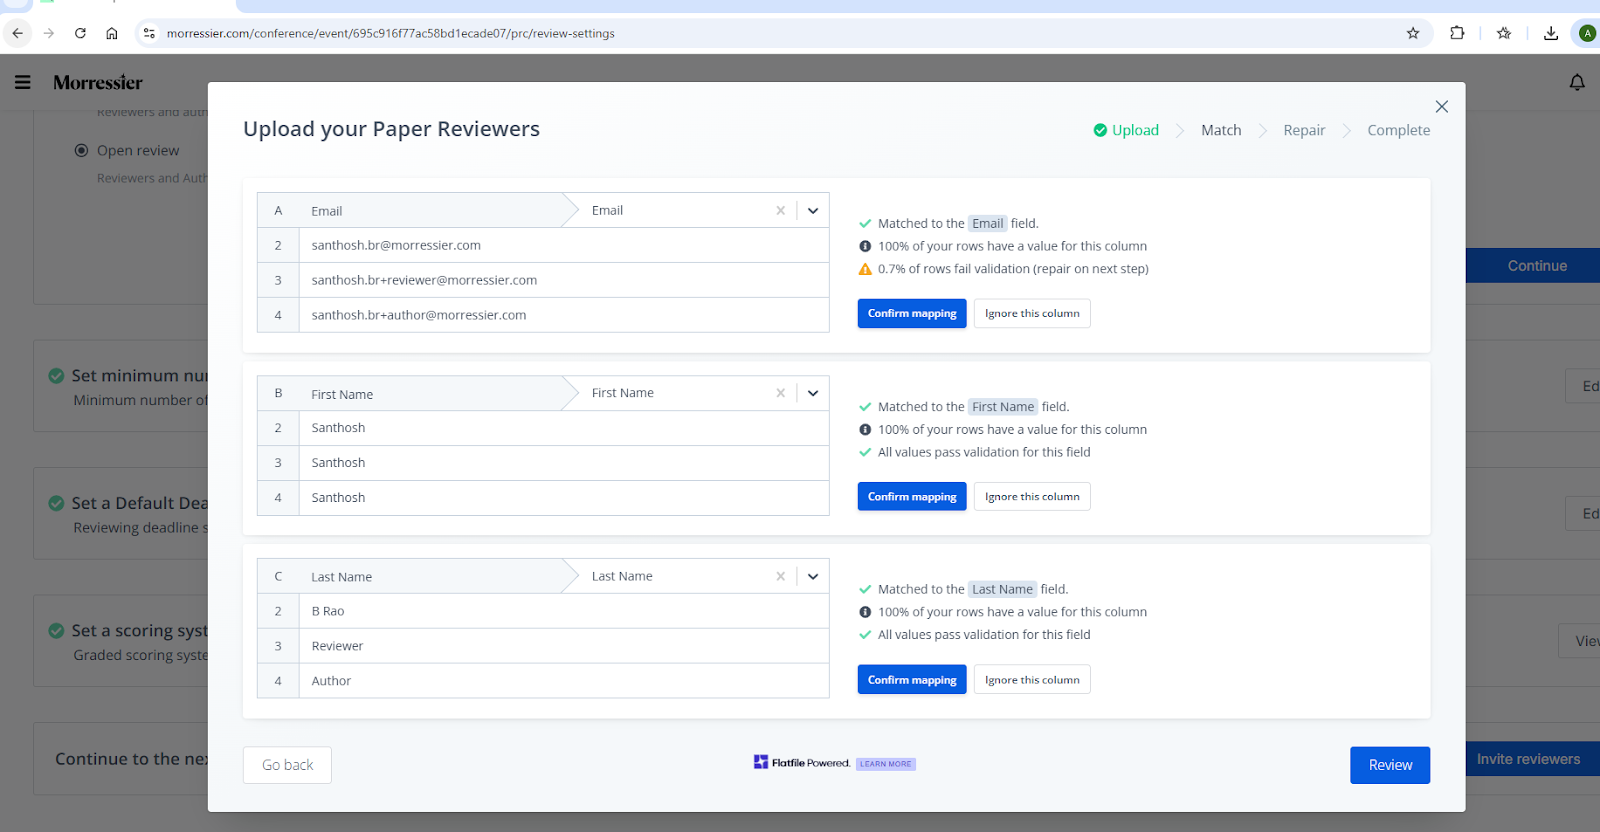
The next screen will display the rows matching exactly as they have appeared in the spreadsheet.
For each field in the spreadsheet you’ll see a result set – in this case for Email address, First Name, and Last Name. You proceed by selecting Confirm mapping, or Ignore this column as you will have a chance to address all issues on the next screen.
Please note: You may also choose simply to select Review without choosing either Confirm mapping or Ignore this column to advance to the next screen and make the necessary adjustments to your data set.
Click on Review to proceed.
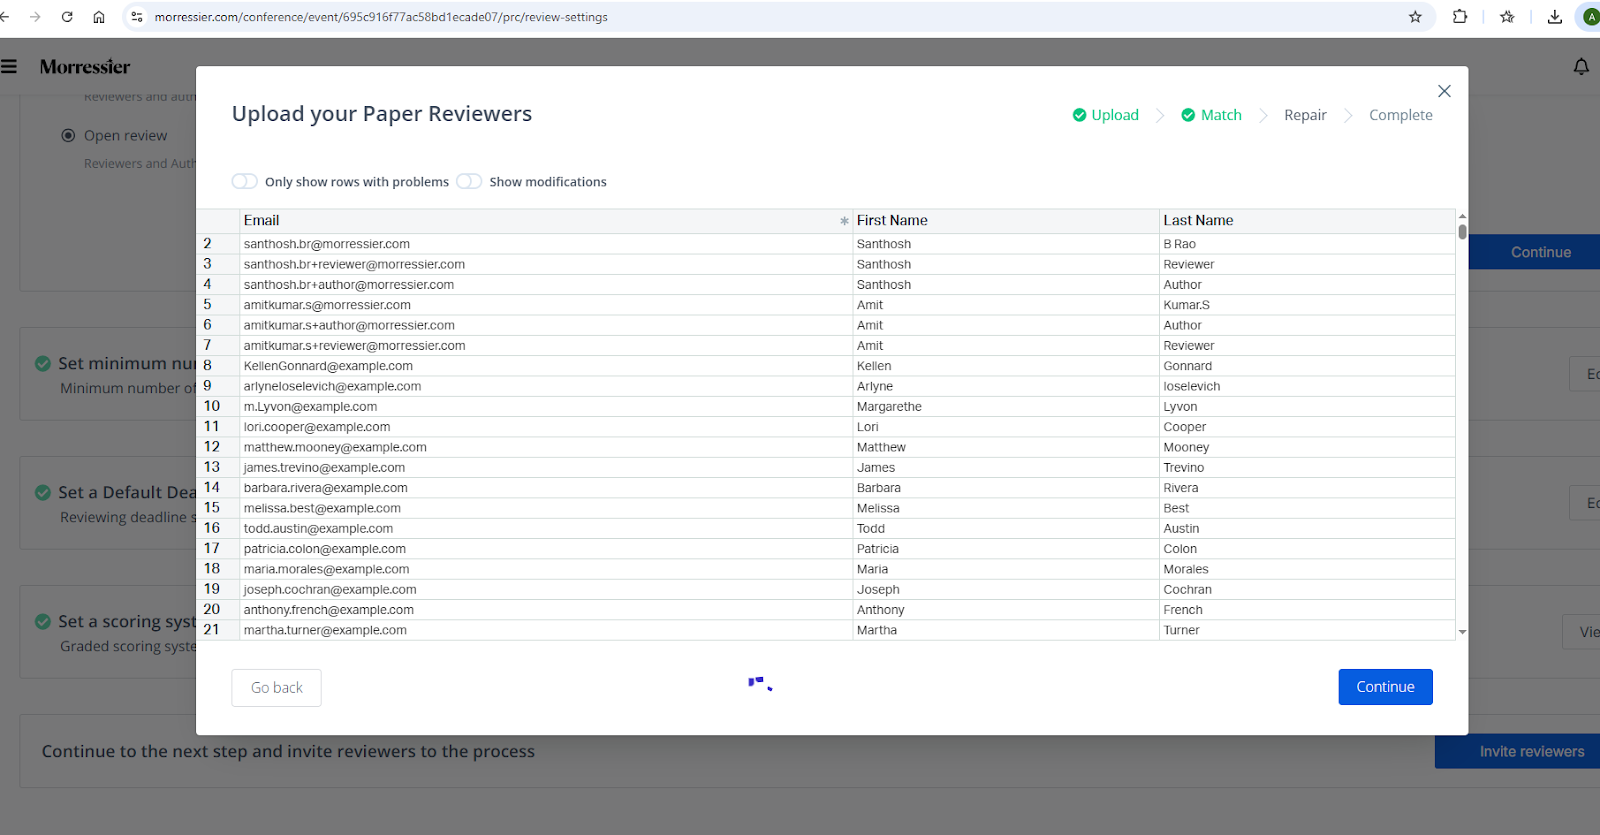
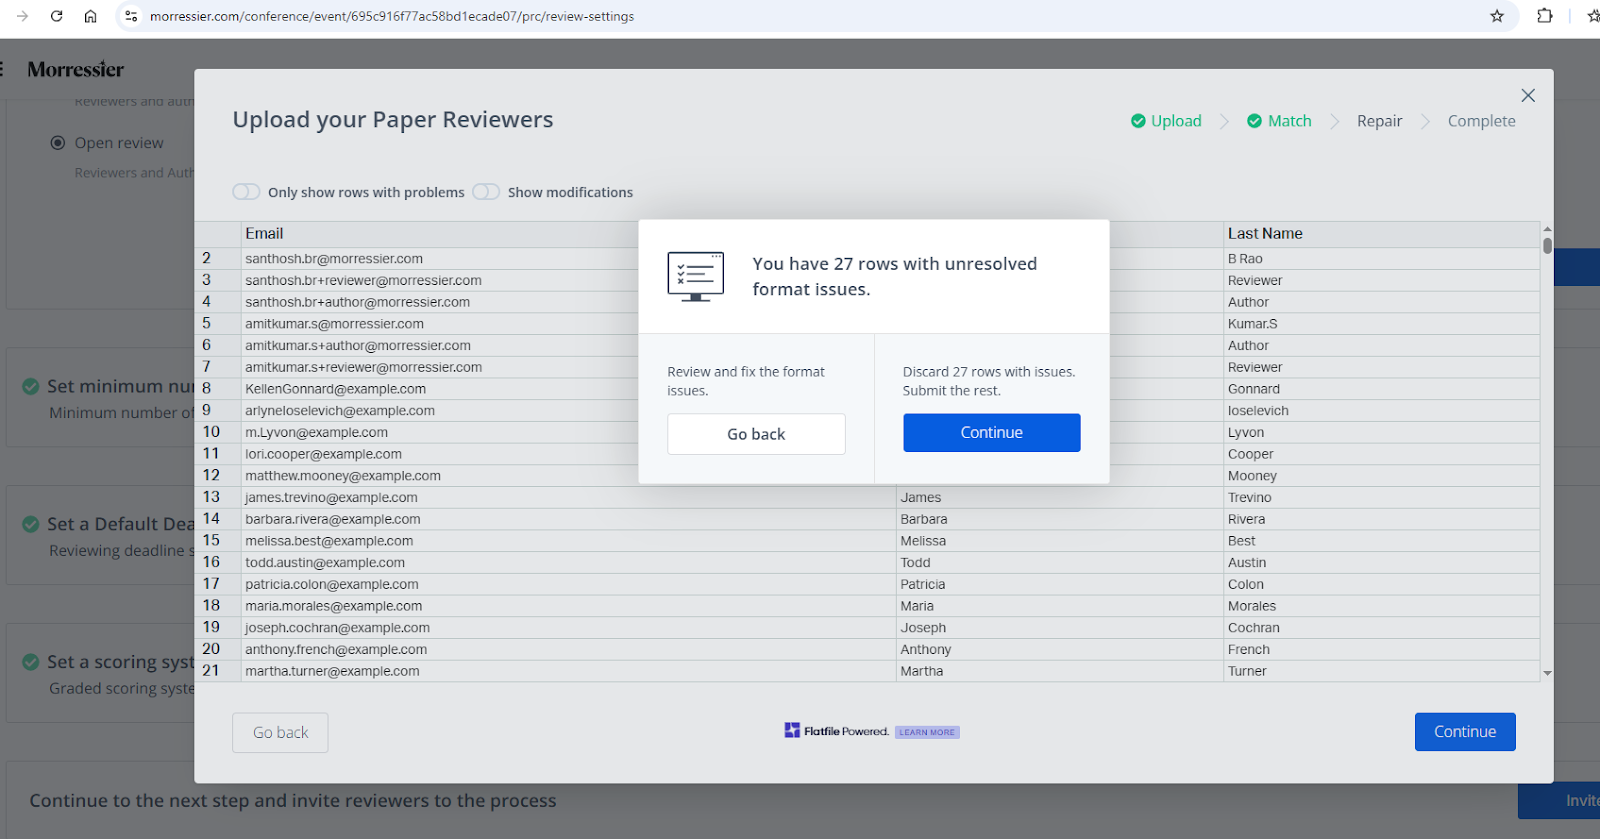
On the next screen you will see all the email addresses, first names and last names. This is the window where you need to verify the accuracy of your invitation list before you click Continue.
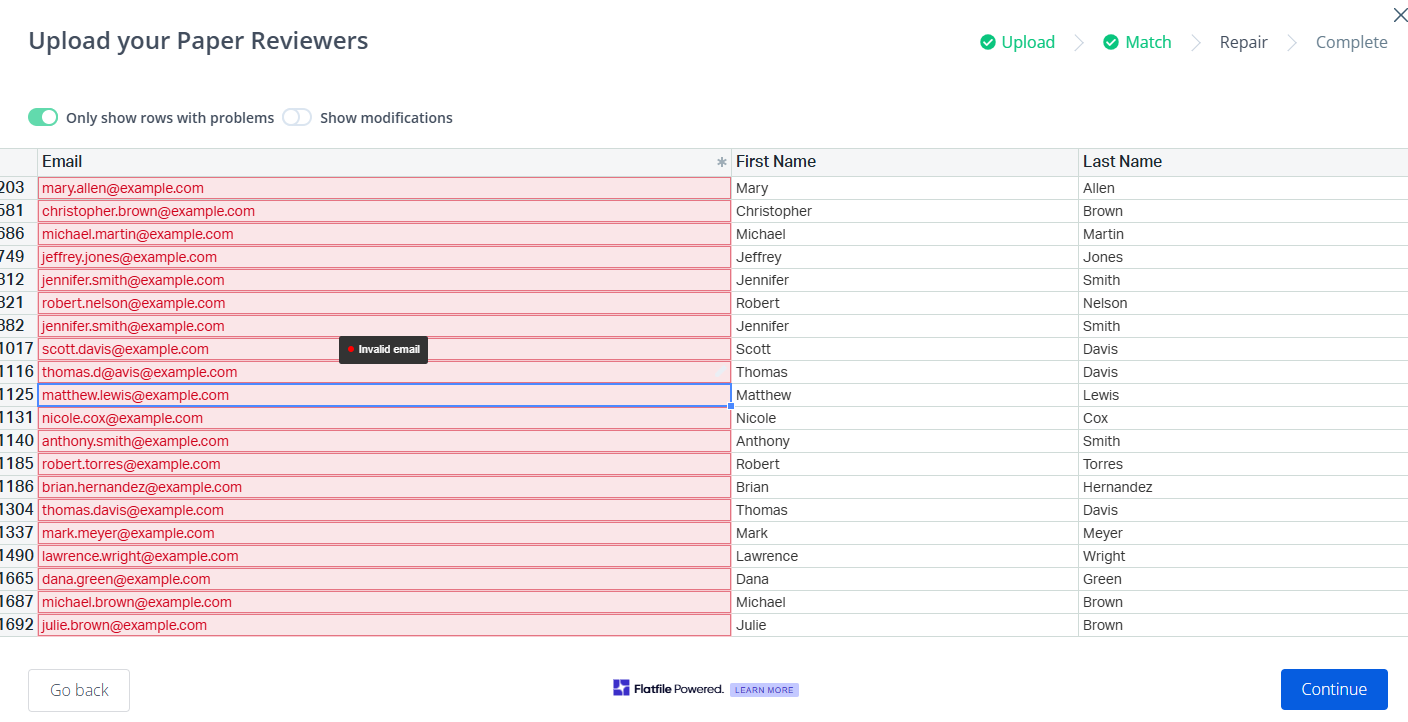
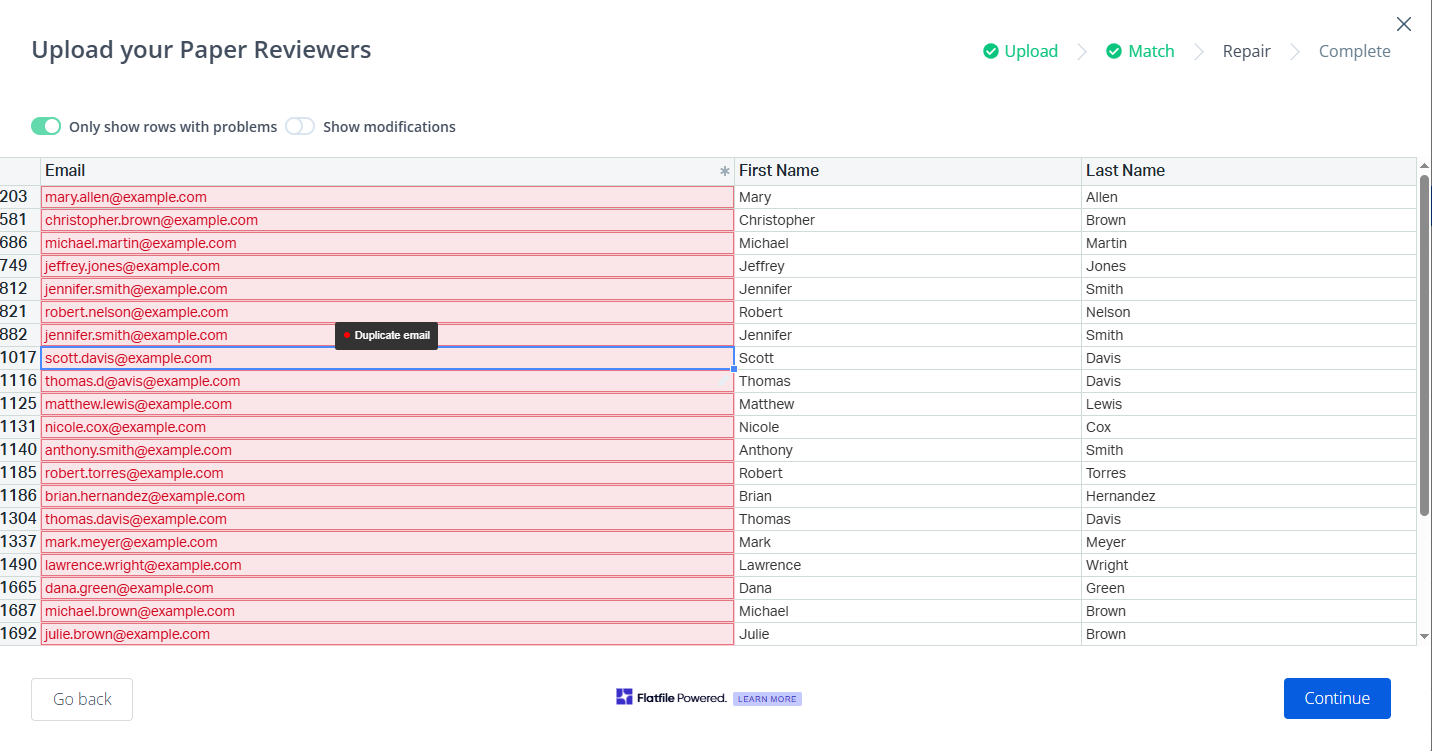
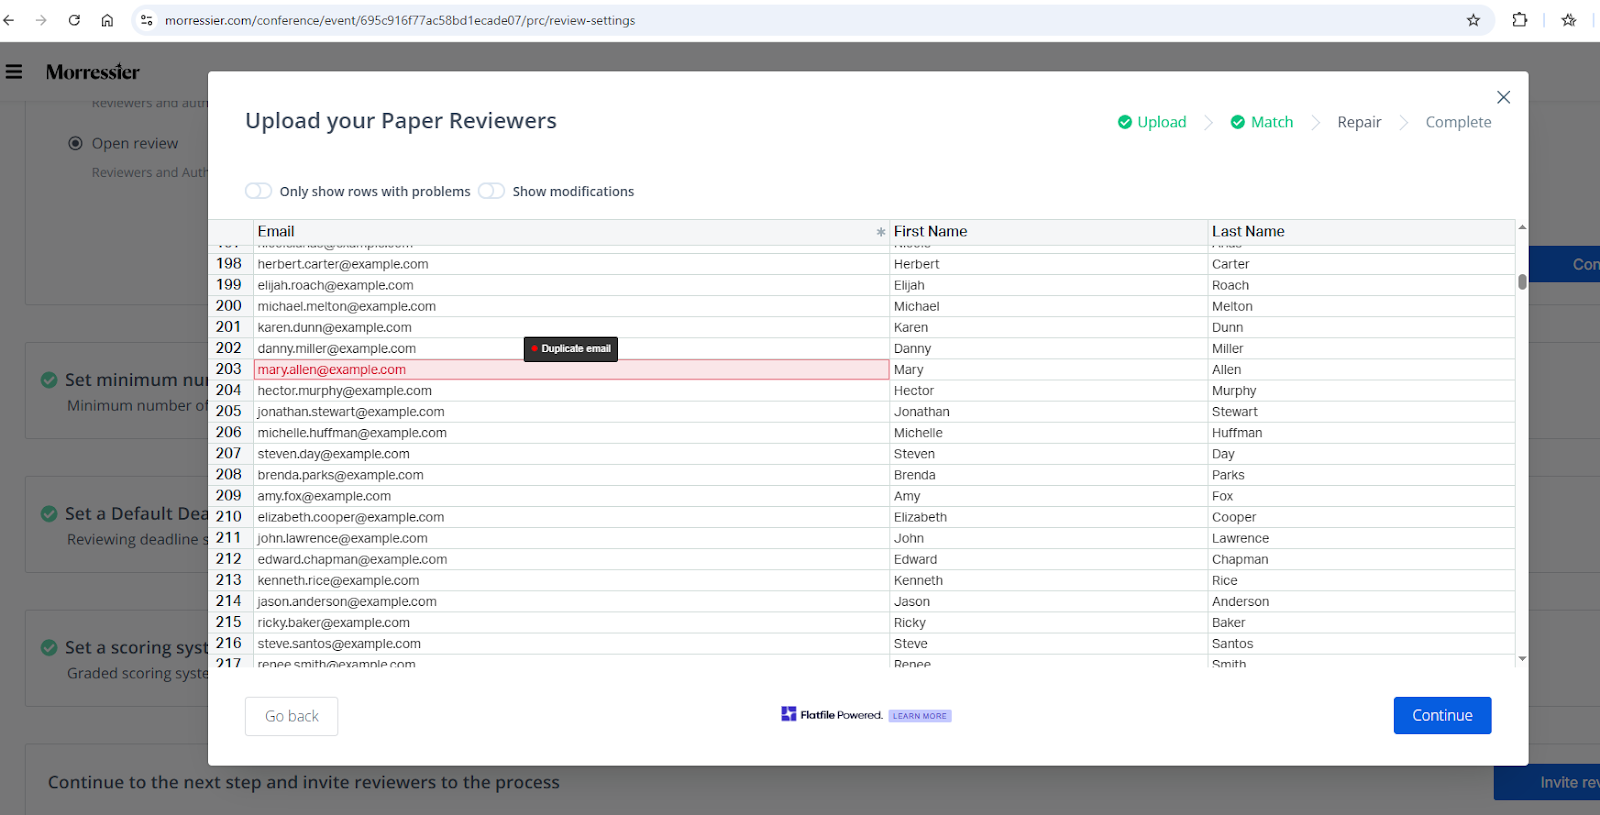
To isolate the rows with problems, click the toggle at the top left. You’ll see the rows with issues identified in red (as shown below). 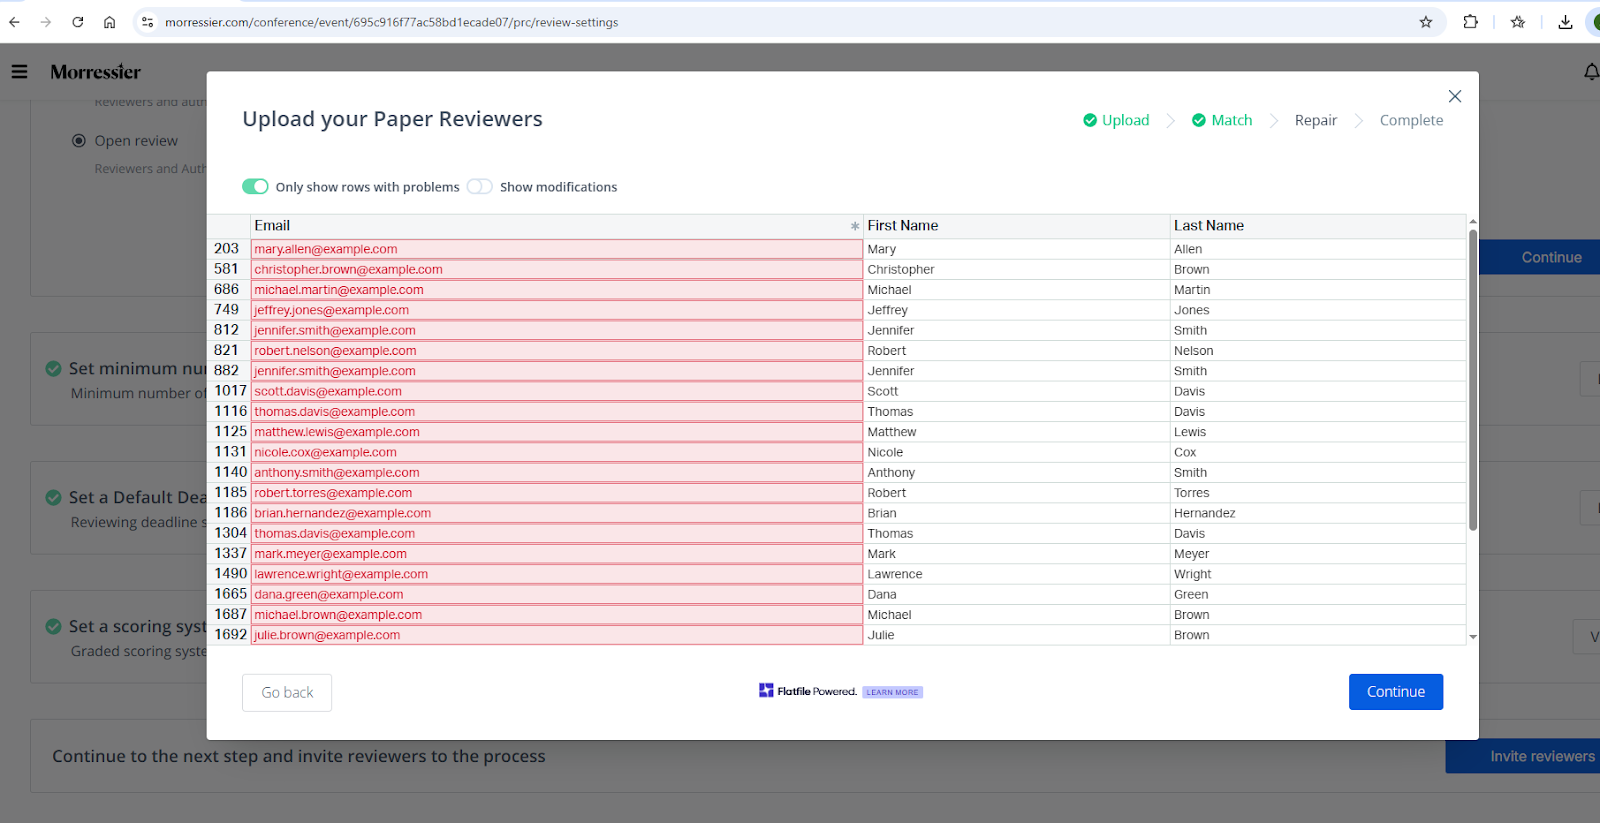
Hover over an email address to identify an issue (e.g. “Invalid email address” or “Duplicate email address”).
To edit data in a row, simply double-click on the row you wish to change.
To delete a row, double-click on the row you wish to delete and then select Delete or Backspace on your keyboard.
Invalid email address
Duplicate email address
Editing an email address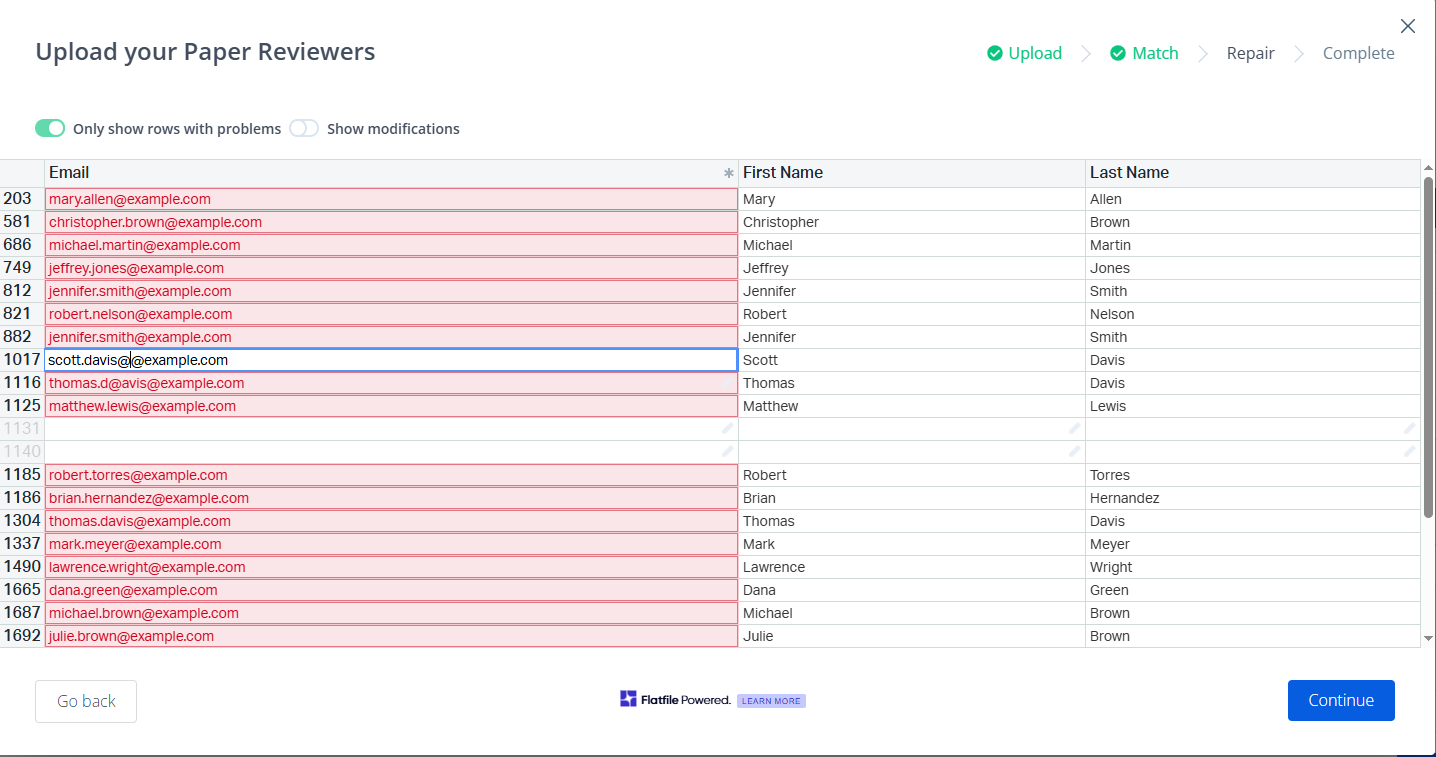
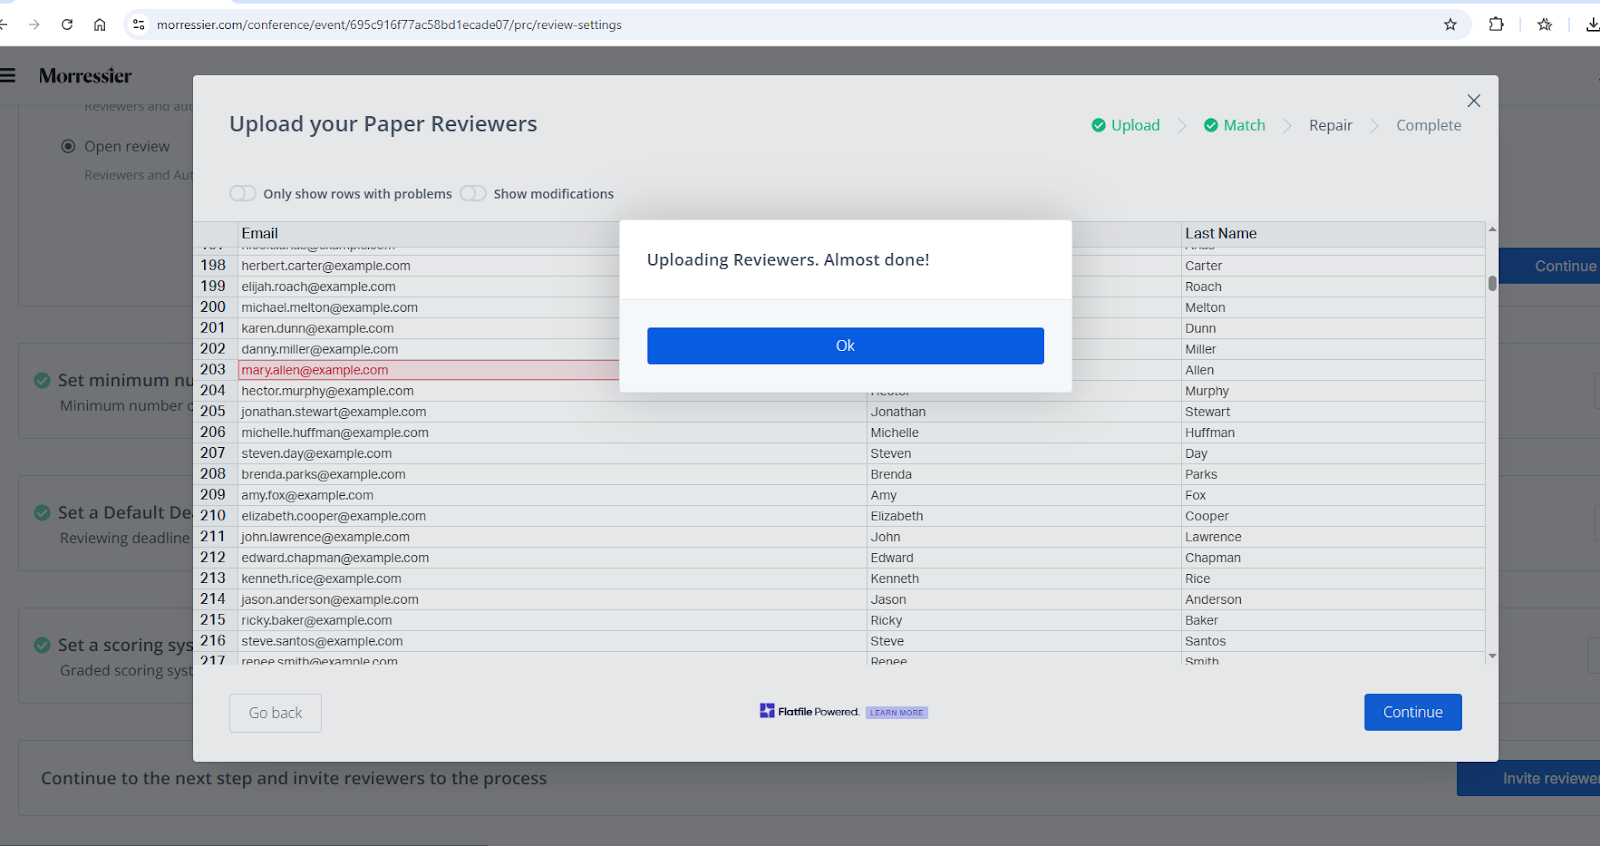
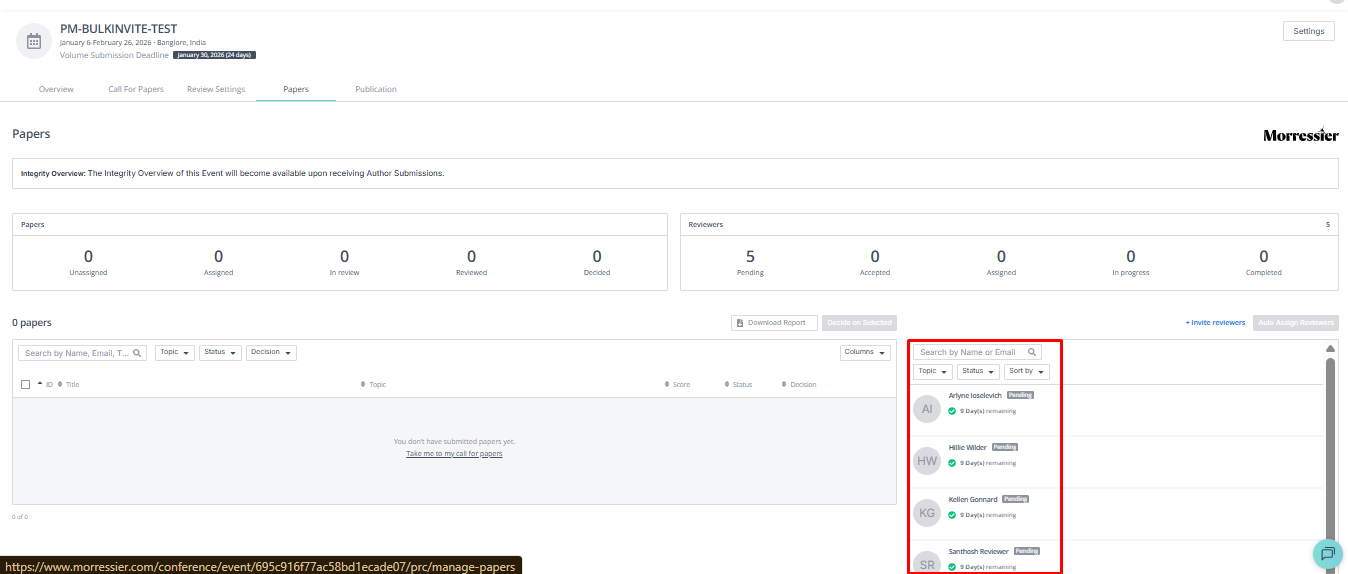
And that’s it! Once the upload is complete, the bulk list of reviewers will appear in the Proceedings Manager user interface, as shown below.
2. What Reviewers Will See
Inviting Reviewers with an existing Morressier account:
If a reviewer has signed up and activated their Morressier account before an organizer has added them to a bulk reviewer import, then the reviewer will experience no changes to their workflow. The reviewer will receive the topics from the organizer in addition to their other account functionality.
Inviting Reviewers without a Morressier account:
If a reviewer does not yet have an account at the time of the bulk reviewer import, then they will receive only the invitation and topic from this particular invite request.
3. Manual Upload
The process for inviting reviewers manually remains unchanged. Organizers can also use manual upload of reviewers before or after they have used the bulk upload.